- FAQs
- March 21, 2022
How Can I Create Gated Links With My NFTs?
What could be better than securing or gating your content and making it accessible to those who own your NFTs? NFTICALLY helps you achieve just that. With our Gated Links feature, you can gate or lock your content (any video, footage, article, documentary, BTS clips, etc.) and then secure it with the NFT details like token address, token id, etc. and someone in possession of these NFTs or tokens, will be able to access the secured content.
For creating a gated link, all you need is the respective minted NFTs or your own ERC20 token that you would like to secure your content with and their smart contract information. With the required information, you will be able to create a gated link with a few simple steps.

Now, let’s just jump to the main part of how to create a gated link. Well, we have created a detailed, step-by-step guide for you, just so that you can launch your gated links in a seamless way.
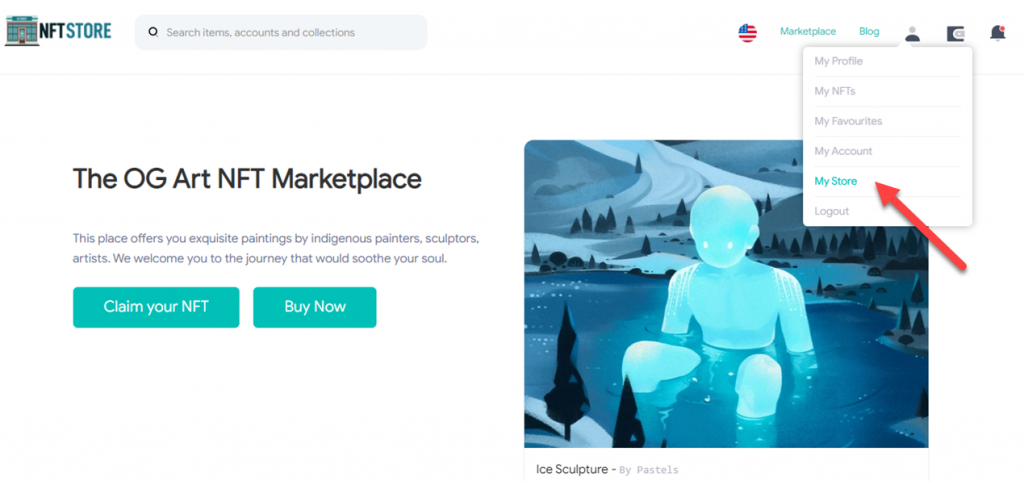
- Go to your NFT Marketplace and click on the ‘My Store’ option available in the drop-down menu from the third icon from the right.
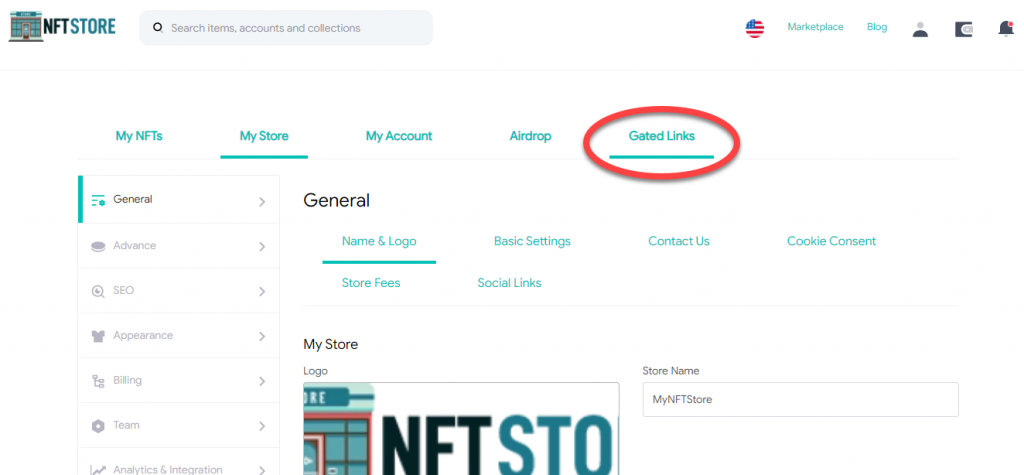
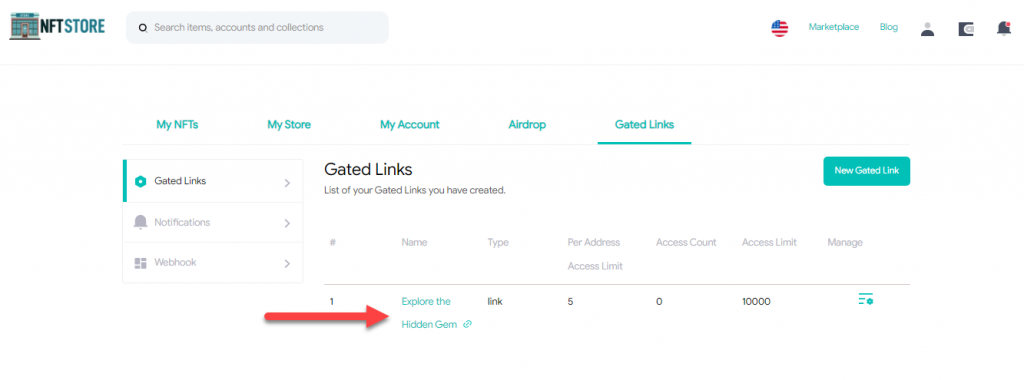
- Choose the ‘Gated Link’ option, located as the last tab in the header section.

- Once you open the Gated Link tab, click on the ‘New Gated Link’ to create one for your NFT Store.
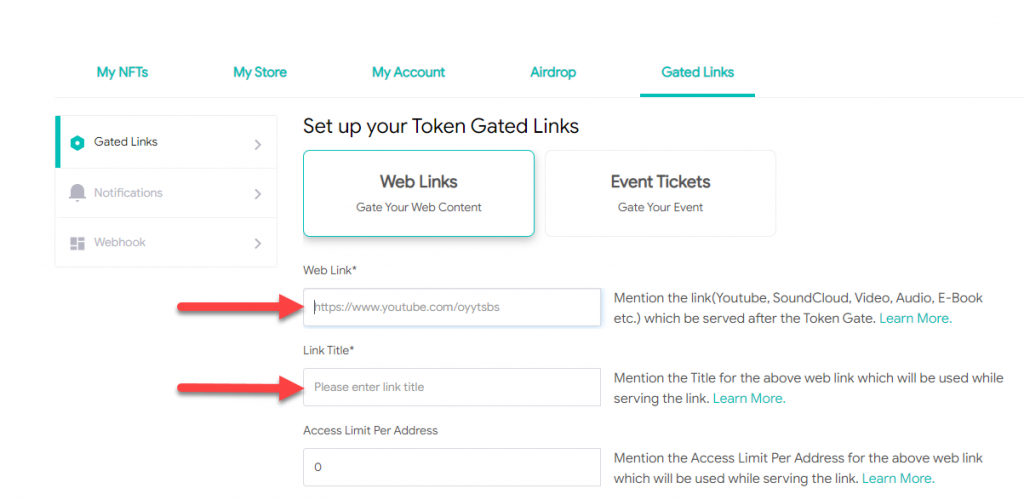
- After you click on the ‘New Gated Lin’ button, the page to create a new gated link will appear. Proceed ahead by entering the link that you want secure and enter a name for it.
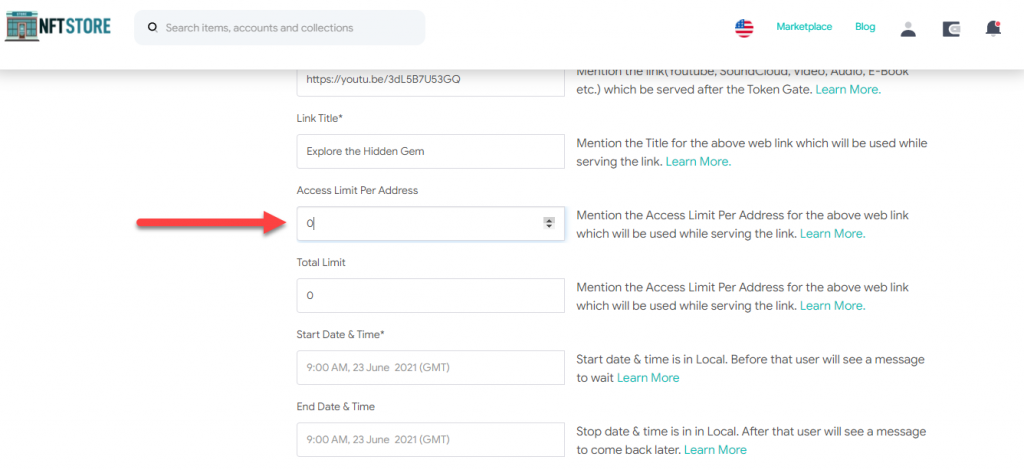
- The next required step is to give a number to the maximum access a particular wallet can get. For example, if you set this number at 5, then the wallet address accessing this link will be able to access it only five times. Therefore, define the number of accesses a wallet can have depending on your target audience and the content that you will be offering.
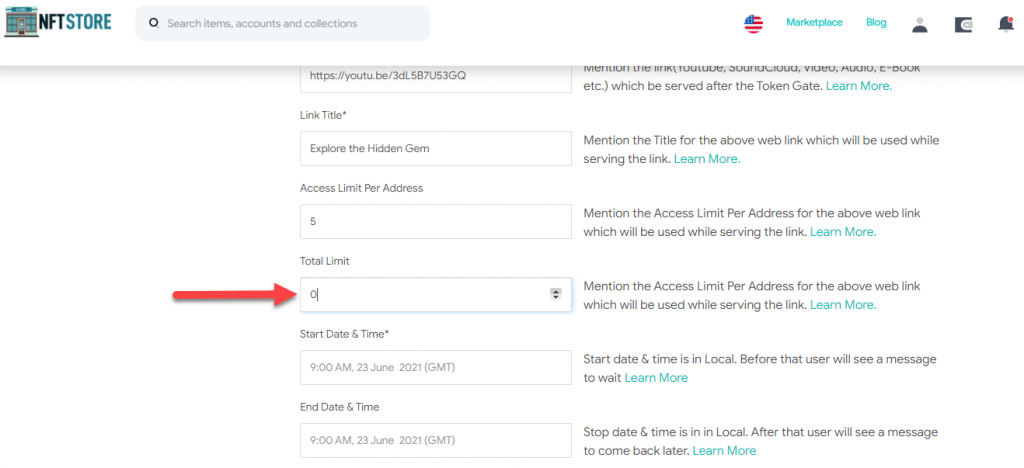
- Now, you need to enter the number for which the link can be accessed in total. This number will indicate that the link can be accessed up to the stated number of times. For example, if you keep this number 5000, then once the link will be accessed 5000 times in total, it will again get locked. Therefore, keep the number as per your requirements.

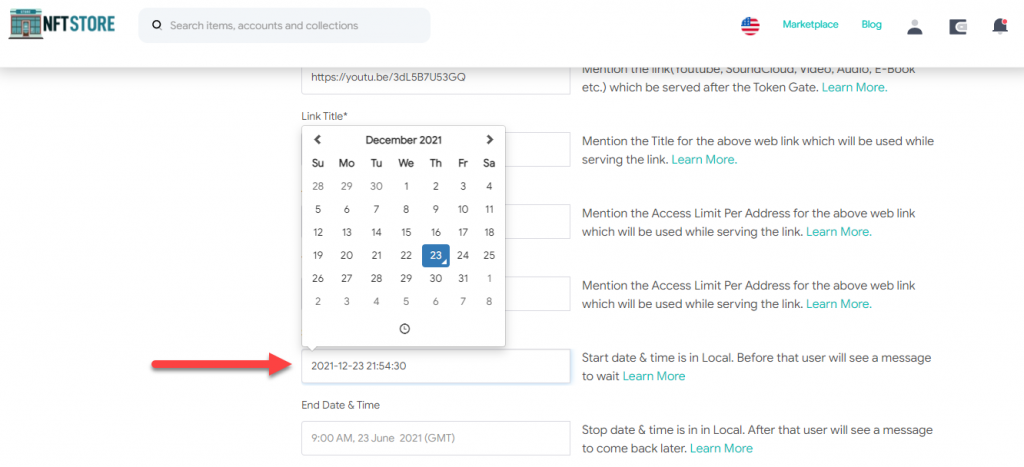
- The proceeding step will be to add a start date and time for your gated link. Once you set this date, the gated link will be live for access from that date and time.
- Next, you will be required to give an end date and time to your gated link. It must be noted here that past this date and time, the link will again get locked and will not be available for access for your audience.
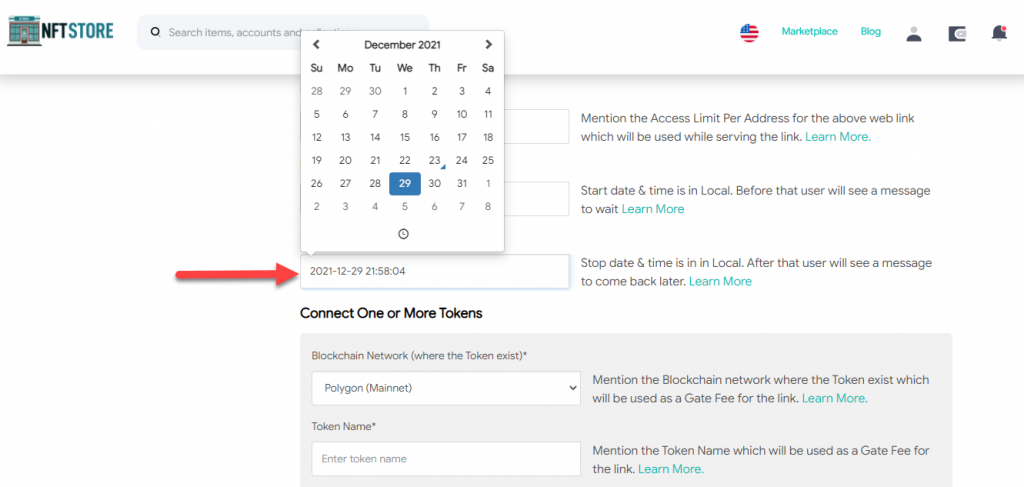
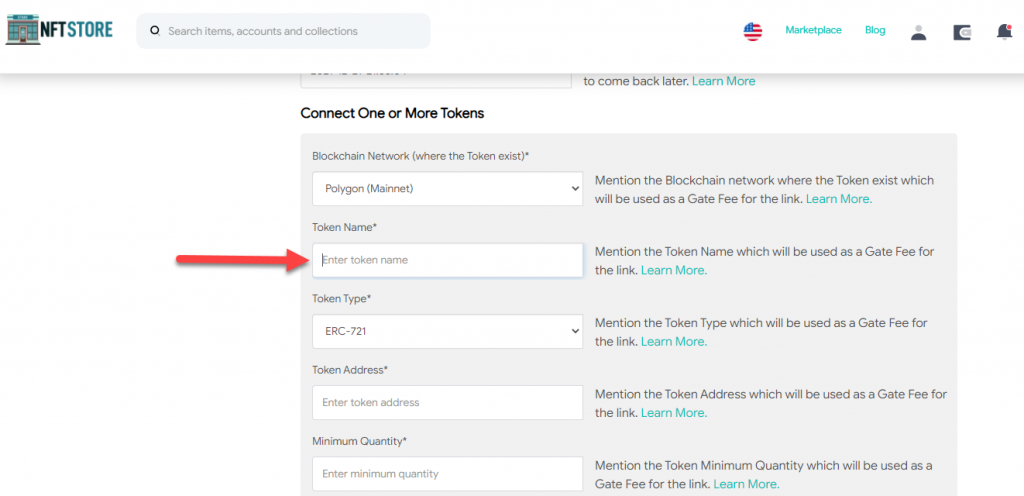
- The next phase is to enter the token details which will be used to gate your link. Therefore, the initial step in this phase is to select the blockchain network on which the token has been minted.

- This step will require you to give the token name. This name can also be the same as the name of your NFT that you are using.
- Now, choose the type of token that you are using to lock your link. It can either be an ERC720 token, or ERC1155 token, or an ERC20 token. Choose the one which is applicable to your case.
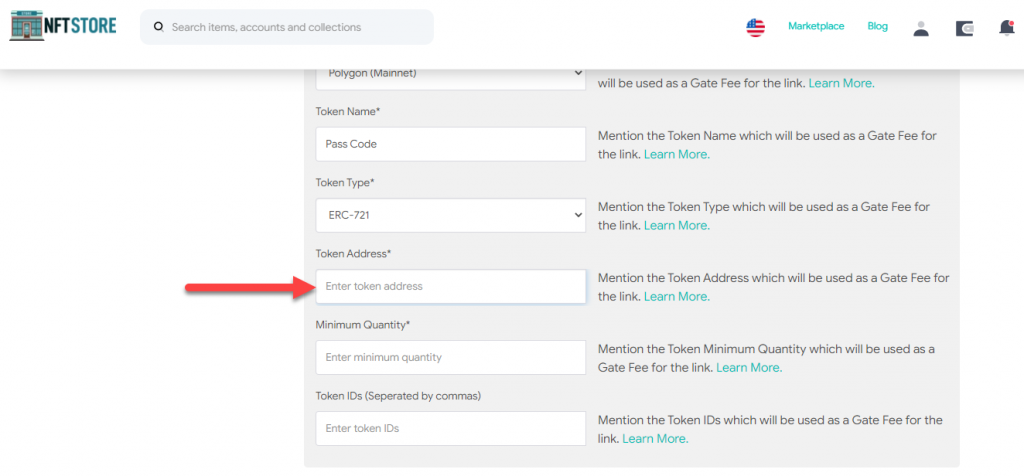
- The next step is to mention the contact address to which your token is registered on. This information can be gathered from your smart contract address that you get when you mint a token.
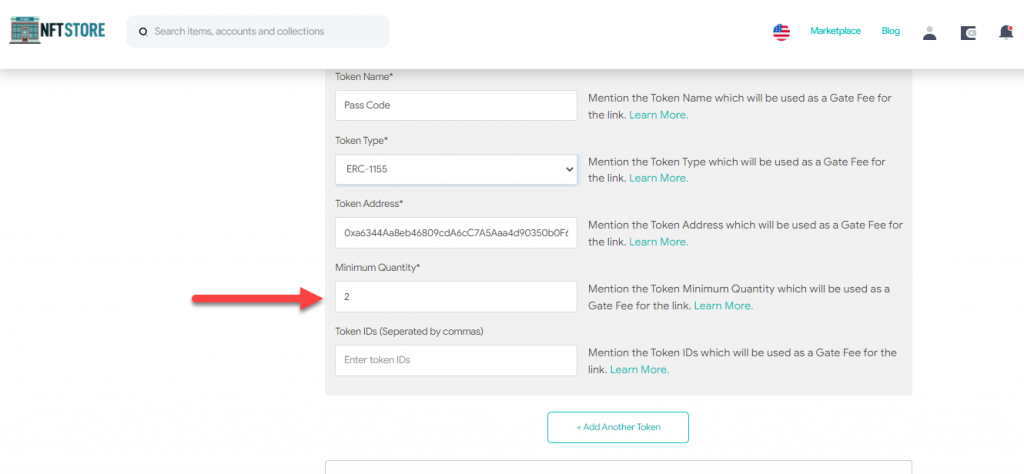
- Next, the minimum quantity of tokens that a wallet must possess in order to access the respective gated link must be added. When you assign a number here, every address that will claim access to your link would be required to possess at least the stated quantity of token(s).
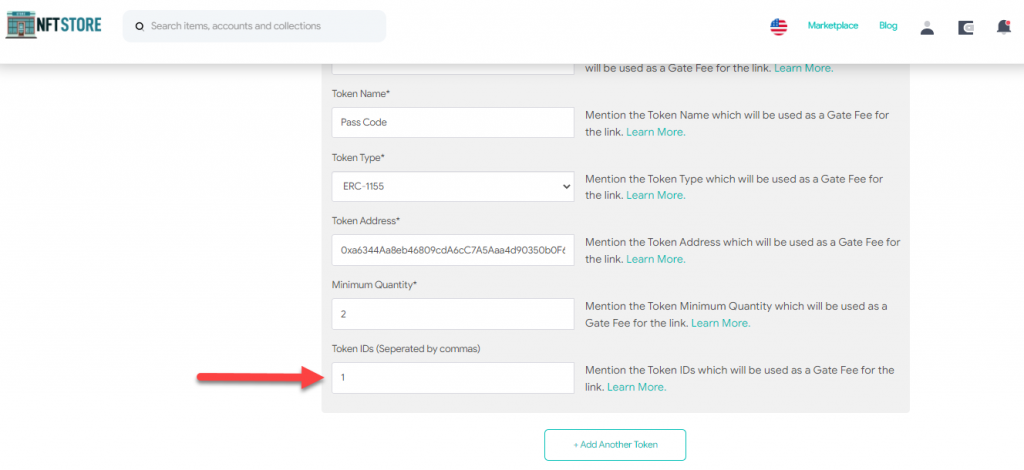
- The final step is to enter the token ids which your audience needs to have in order to successfully access the gated link. The different token ids are needed when you use ERC721 tokens for securing your links. These ids can be fetched from the smart contract details that you will receive once you mint your NFTs.
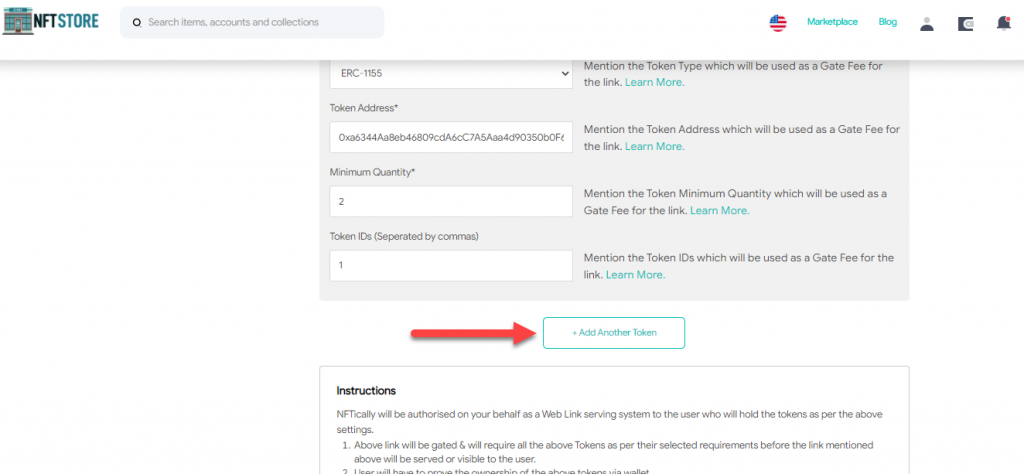
- If you have more than one type of token, then you can proceed on to adding another token by clicking on the ‘Add Another Token’ button. This step is optional and applicable only if you have more than one token to be used.
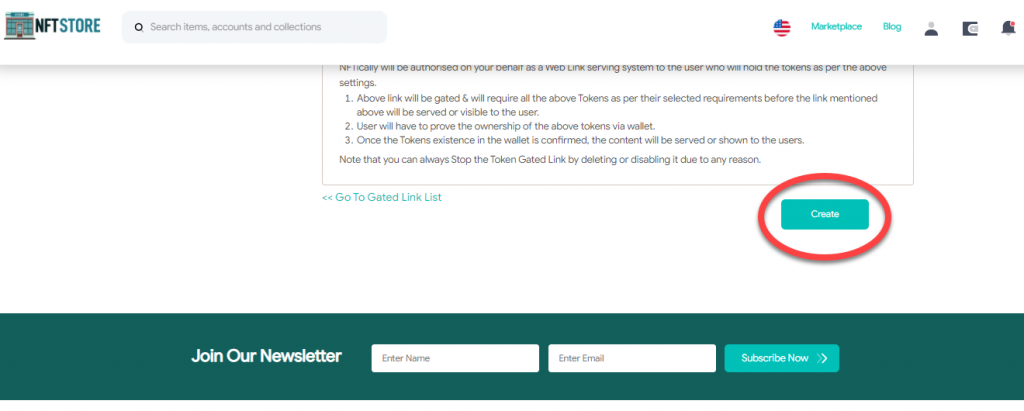
- Once you have filled in all the required fields, the last action is to hit the ‘Create’ button, highlighted in blue.
- Once you hit the ‘Create’ button, the gated link will be created and it will appear in the list of gated links. You may share or edit it as per your requirements.
It is extremely flexible and convenient with NFTICALLY to create a gated link with a few simple steps. Create and share your gated link now.
Related Posts
Can I Transfer NFTs to My Fans and Followers?
Nothing is more thoughtful than gifting NFTs to your followers and fans who are a part of this digital world or someone who is curious to learn more about this industry. NFTs are the simplest…
- June 23, 2022
Capture Activity on Your Store via Store Reports
Get real-time updated reports regarding all activities happening at your Marketplace with our Marketplace Report Generation feature. To download activity reports from your Marketplace, follow the steps below: Go to the third icon at the…
- April 25, 2022